How to Whitelabel Your LMS Domain?
Whitelisting your LMS domain is the very first step to take control of your Academy Setup and Branding. White-labelling your domain lets you use a custom website URL that reflects your brand, creating a seamless and professional experience for your learners. It builds trust and reinforces your academy’s identity across all touch-points.
Let’s get started 🚀
Whitelist Your LMS Domain
An LMS (Learning Management System) domain is the web address where your online learning platform is hosted. Whitelisting this domain ensures secure and uninterrupted access by allowing it through firewalls or content filters, preventing connectivity or content-loading issues.
Carefully follow the instructions below that will guide you on how to efficiently whitelist your LMS domain in your organization’s learning platform.
Method I: Replace Your Existing Domain
Replacing your existing domain allows you to update your site’s address to better reflect your brand or accommodate a rebranding. Making this change ensures that your learners and staff can easily find your courses under the new domain. Also, it helps you maintain a professional and consistent identity.
Carefully follow the instructions below that will guide you on how to efficiently replace your existing domain in your organization’s learning platform.
Step 1: Log into your account, click on “Settings,” and select “Website & App Setup” from the left sidebar of your organization's web application.
Step 2: A “Website & App Setup” screen will appear. Choose the Website tab and click the “+ Use Custom Domain” label.
Step 3: Enter your domain in the Custom Domain URL field.
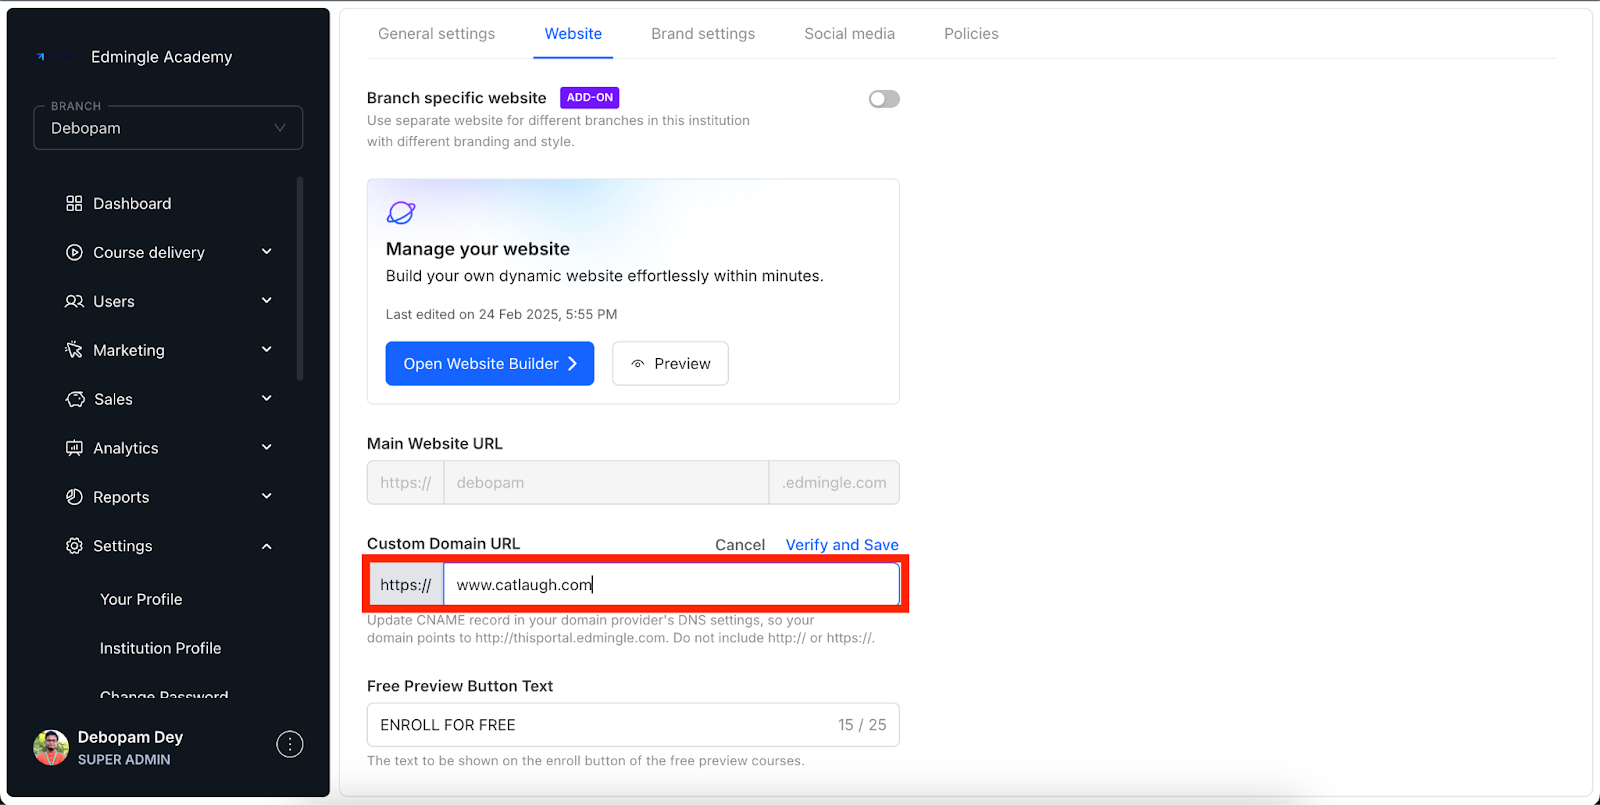
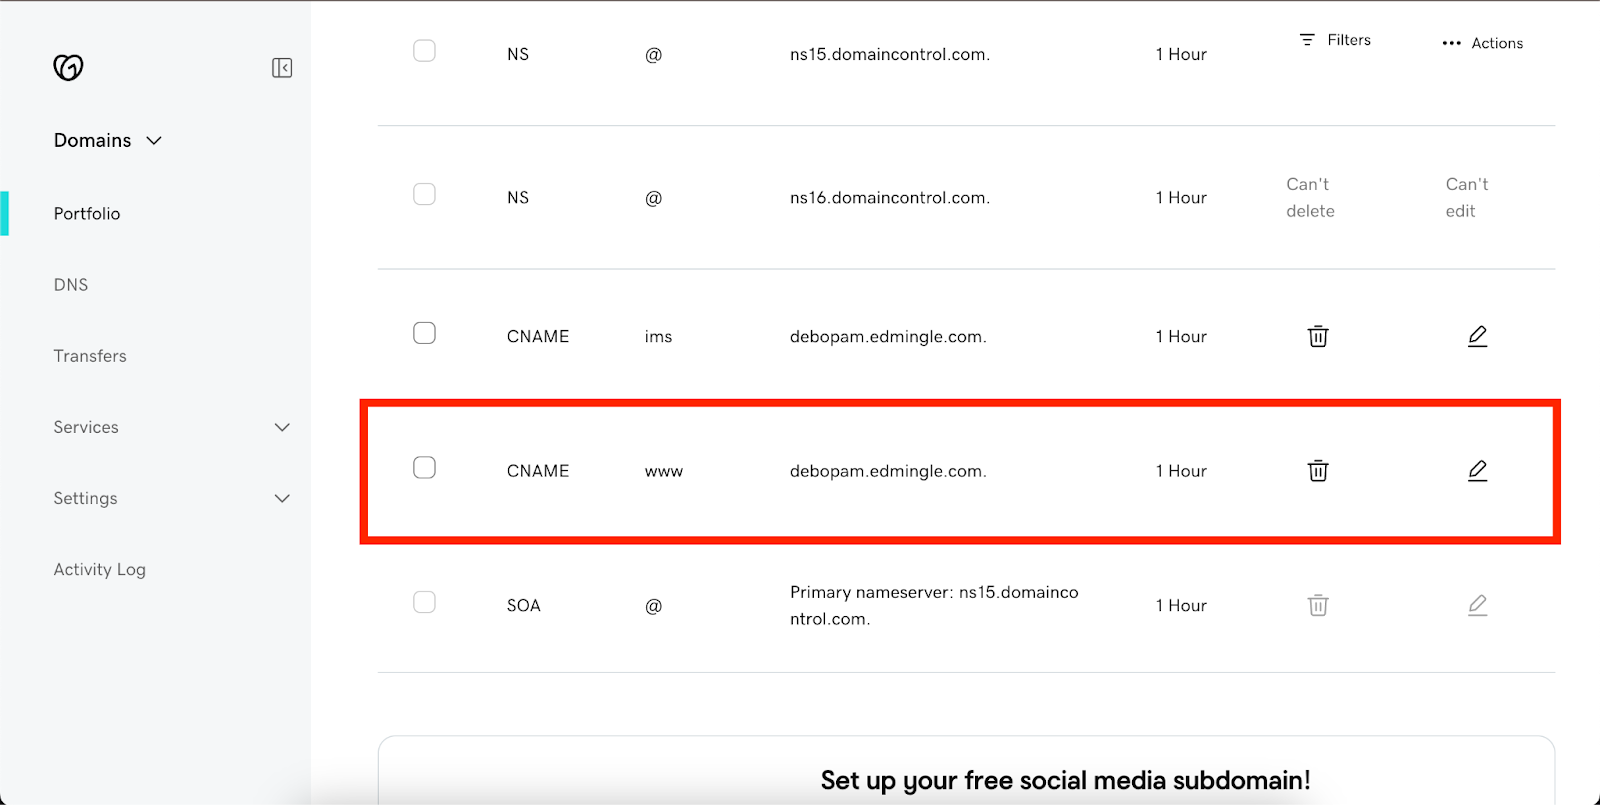
Step 4: Configure and add the required DNS records for the domain you entered in the Custom Domain URL field.
To do this, log in to your domain provider's dashboard and navigate to the Manage DNS settings.

Step 5: Click on the “Verify and Save” button to check whether the domain has been configured correctly.


Step 6: Click the “Save Changes” button to save your changes.

Method II: Create a Subdomain
Creating a subdomain allows you to host your LMS or web application under a custom, branded URL, such as learn.yourdomain.com, while keeping your main website separate (e.g., yourdomain.com). This improves brand consistency and also gives you better control over your content structure and user access.
Carefully follow the instructions below that will guide you on how to efficiently create a subdomain in your organization’s learning platform.
Step 1: Log into your account, click on “Settings,” and select “Website & App Setup” from the left sidebar of your organization's web application.
Step 2: A “Website & App Setup” screen will appear. Choose the Website tab and click the “+ Use Custom Domain” label.
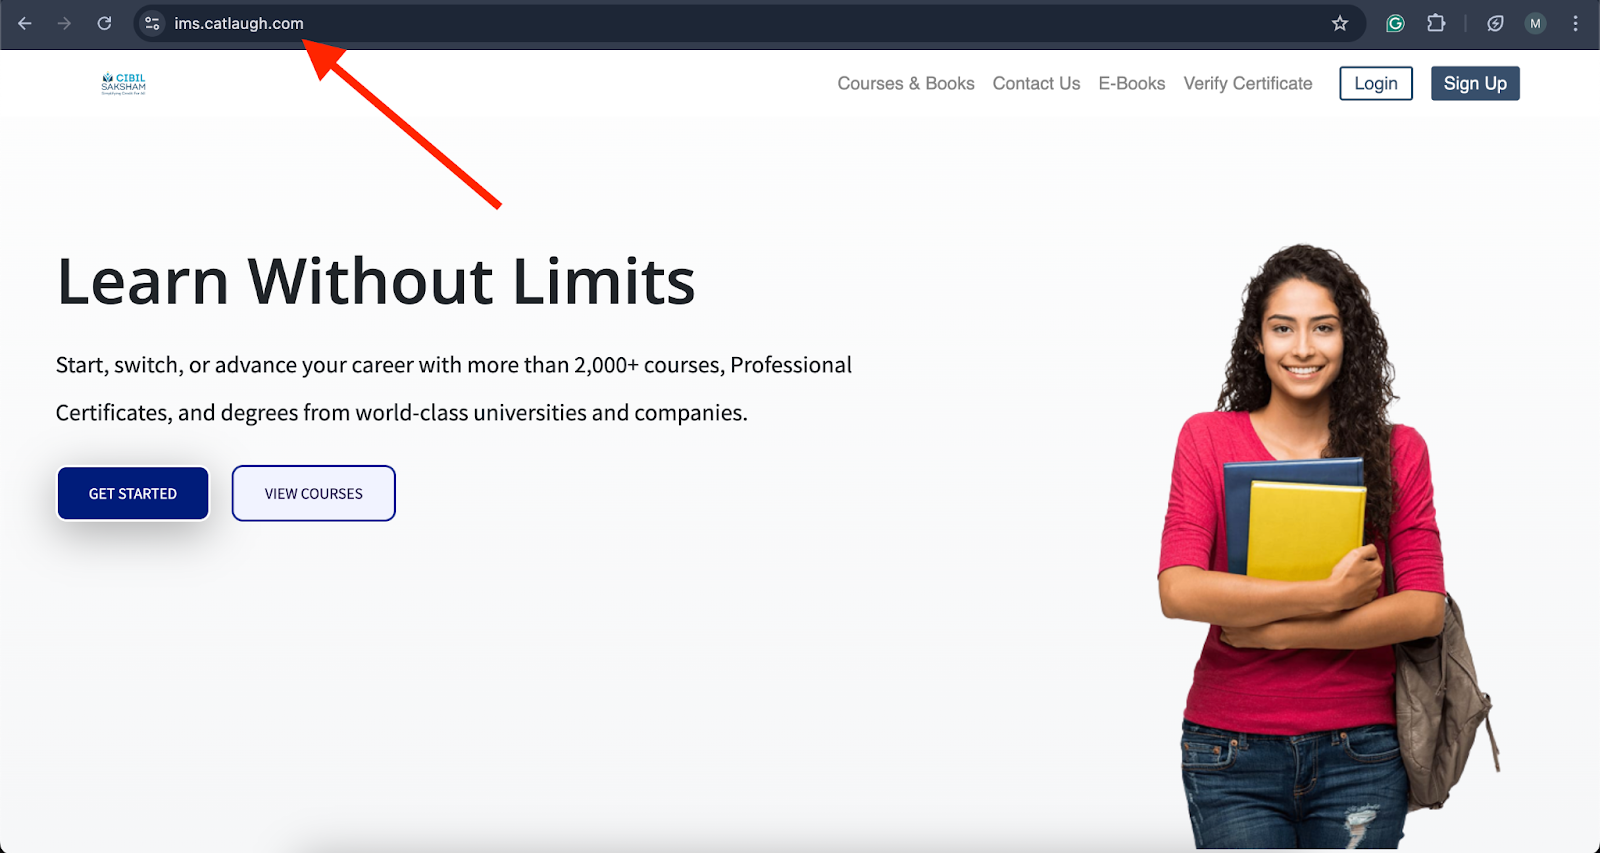
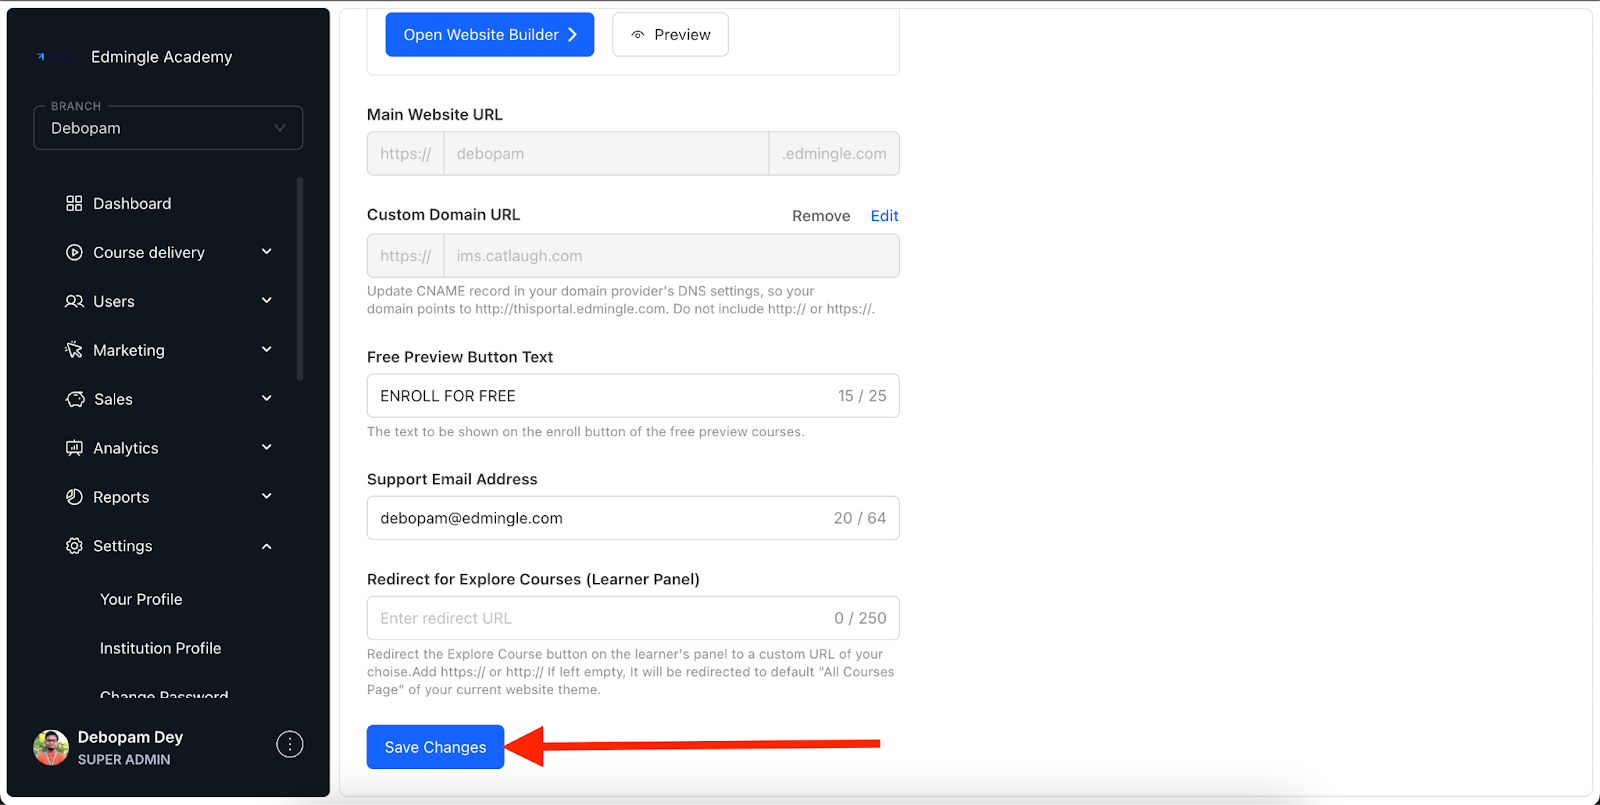
Step 3: Enter your already live domain with a subdomain in the Custom Domain URL field.

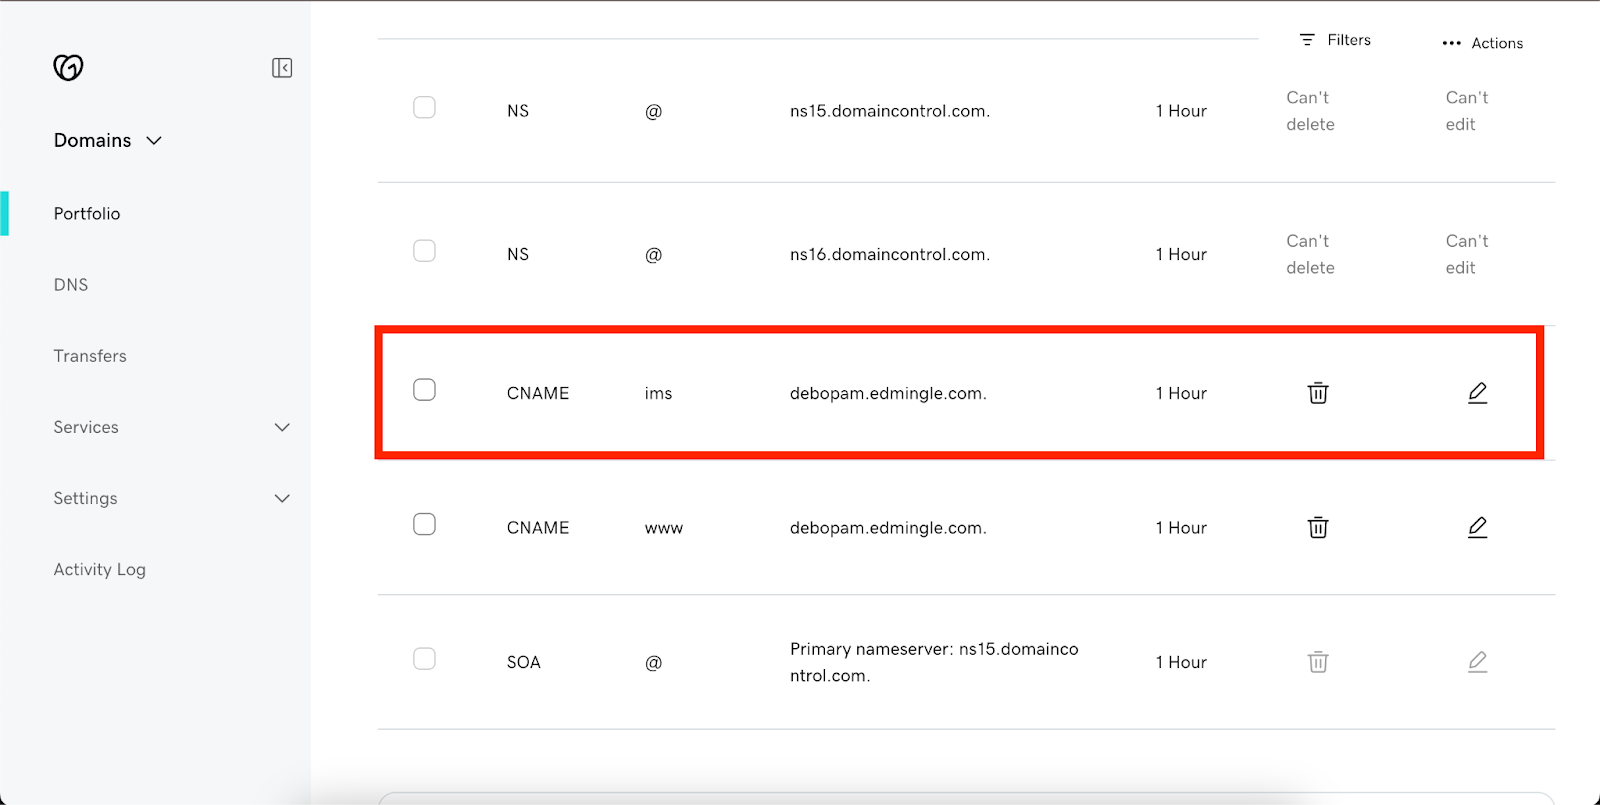
Step 4: Add the necessary DNS records for the subdomain you entered in the Custom Domain URL field. To do this:
1. Log in to your domain provider’s dashboard.
2. Navigate to the Manage DNS settings.
Step 5: Click on the “Verify and Save” button to check whether the domain has been configured correctly.
 Tip: You can also verify if your domain is live and properly configured by using a domain checker tool.
Step 6: Click the “Save Changes” button to save your changes.

Related Articles
How to Apply for an Android Application?
Edmingle allows you to deploy your own Android application to provide a seamless on-the-go mobile learning experience for your learners. Depending on your subscription plan, you may be eligible for either a common app or a fully branded app. ...