What are announcements and how to manage them?
Managing announcements in your online learning platform helps keep everyone informed and up to date. These announcements are used to share important information like class changes, exam dates, deadlines, or system updates. When announcements are clear and well-organized, it’s easier for learners to understand what’s happening and what they need to do.
This further helps avoid confusion and keeps the learning process smooth. You can also mark unread messages, sort announcements by topic, and see past updates in one place. Overall, managing announcements makes sure that all communication is easy to find and understand.
 Note: On the web version, announcements can be accessed in the “Announcement” section. In the mobile app, they appear as alerts under the “Alerts” section.
Through this documentation, we will guide you on how you can manage the announcements section in your organization’s learning platform.
Let’s get started 🚀
Navigation
It's really important to check the announcements so you don't miss any important messages from your trainer, like due dates or class news. So, how do you find them? Don't worry, it's easy! Just look for a button or link that says "Announcements" – you'll usually see it right on the main page of your course. That's why checking this spot helps you stay on track.
Carefully follow the instructions below that will guide you on how to efficiently navigate to the announcements section in your organization’s learning platform.
Navigate to the panel on the right side of the screen, then click on the “Marketing” dropdown to unwrap it and click on the “Announcements” option.

Announcements List View
This section allows the educators to manage & review the announcements made in the platform. Here, you can filter & search announcements by their date, name, and urgency level.
The list displays essential details like the name of the announcement, its urgency, relevant tags, and the date and time it was posted. Additionally, this section enables you to create new announcements.
Refer to the following table to understand the “Announcement” section in a better way.

Make a New Announcement
Creating a new announcement in an online learning platform is a simple way to share important information with learners. Whether it's about upcoming exams or course changes, announcements help keep learners informed. This ensures everyone stays updated and engaged and allows the learners to stay on track with their courses.
Carefully follow the instructions below that will guide you on how to efficiently make a new announcement for learners in your organization’s learning platform.
Step 1: Click on the “+ New Announcement” button at the top-right corner of the screen.

Step 2: Fill in all the necessary fields. Refer to the following table to understand the fields better.


Step 3: Click on the “Announce” button at the top-right corner of the screen.

Step 4: A confirmation box will appear in the center of the screen. Click on the “Announce” button again.

Step 5: After clicking on the “Announce” button in the confirmation box, a success message will appear at the top of the screen.

Edit the Announcement
Editing an announcement in an online learning platform allows you to update or fix any mistakes. This ensures that the learners get the correct and up-to-date information. By editing announcements, the educators can maintain clear and relevant communication among all the educators and learners.
Carefully follow the instructions below that will guide you on how to efficiently edit announcements for learners in your organization’s learning platform.
Step 1: Click on the 3-dot actions icon at the end of the announcement, then click on the “Edit” option.

Step 2: A new window will open on the screen. Fill in all the necessary fields that you want to change.

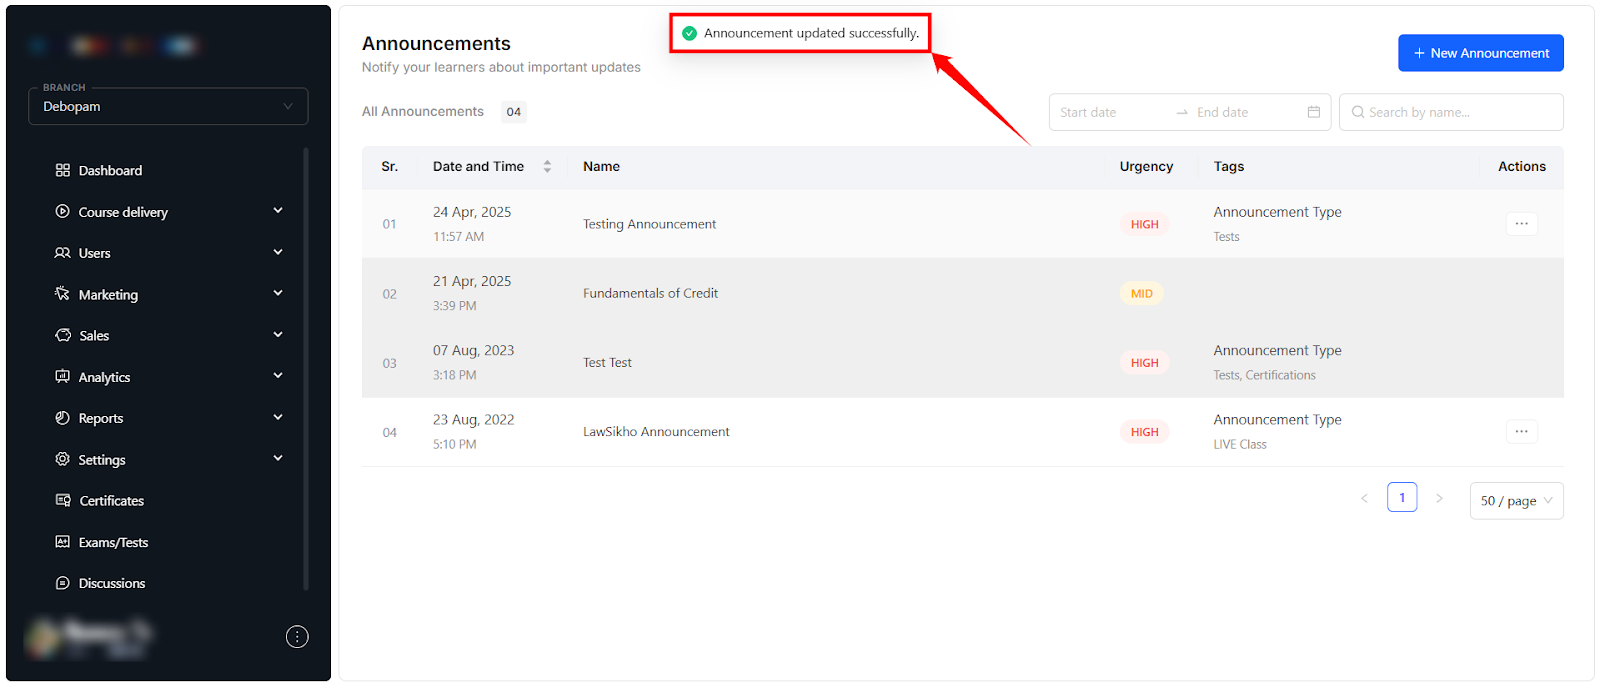
Step 3: Click on the “Update” button at the top-right corner of the screen.

Step 4: After clicking on the “Update” button, a success message will appear at the top of the screen.
View Announcement Date Range
Viewing the announcement date range lets you see when an announcement is shown to learners. This helps the educator to ensure that the announcement is visible at the right time. By checking the announcement date range, you can confirm if the announcement was displayed as planned.
Carefully follow the instructions below that will guide you on how to efficiently view the announcements between a date range in your organization’s learning platform.
Step 1: Click on the “Date and Time” set bar and set the date range to decide when to send the announcement.

Step 2: After setting the date range, you will see the announcements made within the set date range, as you can see in the image below.

View Announcement Details
Viewing the announcement details allows the educator to check the crucial data about each announcement, such as its content & dates. This helps the educator to ensure the announcements are correct and useful for the learners. By checking the details, the educator can stay organized and ensure that the right information is shared with the right people.
Carefully follow the instructions below that will guide you on how to efficiently view the details of a specific announcement.
Step 1: Click on the 3-dot action icon and select the “View” option.

Step 2: A new panel will open on the right side of the screen. In the new panel, you can edit or archive the announcement.

Edit the Announcement
Editing an announcement lets the educator update the announcement or correct any data that needs to be changed. This is crucial to make sure learners get the right and current details. By editing announcements, the educator keeps communication clear & relevant for all learners.
Carefully follow the instructions below that will guide you on how to efficiently edit a specific announcement in your organization’s learning platform.
Step 1: Click on the “Edit” button at the bottom left corner of the screen.

Step 2: A new window will open on the screen. Fill in all the necessary fields that you want to change.
Step 3: Click on the “Update” button at the top-right corner of the screen.
Step 4: After clicking on the “Update” button, a success message will appear at the top of the screen.
Archive the Announcement
Archiving an announcement in an online learning platform allows the educator to hide it from the active list while keeping the information for later use. This helps manage announcements that are no longer needed but should still be available. Archiving keeps the platform tidy and ensures that only relevant announcements are visible to learners.
Carefully follow the instructions below that will guide you on how to efficiently edit a specific announcement in your organization’s learning platform.
Step 1: Click on the “Archive” button at the bottom left corner of the screen.

Step 2: A confirmation box will open in the center of the screen. Click on the “Archive” button in the confirmation box.

Step 3: After clicking on the “Archive” button, a success message will appear at the top of the screen.

Delete the Announcement
Deleting an announcement in an online learning platform lets you remove old or unnecessary information. This helps keep the platform organized and ensures learners only see important updates. By deleting outdated announcements, you create a cleaner & focused space for communication.
Carefully follow the instructions below that will guide you on how to efficiently delete the announcement in your organization’s learning platform.
Step 1: Click on the 3-dot actions icon at the end of the announcement, then click on the “Delete” option.

Step 2: A confirmation message will open at the top of the screen. Click on the “Archive” button to confirm your decision.

Step 3: After clicking on the “Archive” button, a success message will appear at the top of the screen.

Related Articles
What are Utility Wallets & how to manage them?
The Utility Wallet in Edmingle allows you to seamlessly monitor, control, and recharge credits for chargeable notifications such as SMS, WhatsApp, Email, and Push campaigns. By managing the wallet effectively, you can track real-time usage, view ...How to Manage Blogs in Edmingle?
Managing blogs on an online learning platform is a great way to help learners and trainers connect and learn together. When blogs are organized and updated regularly, it becomes easy for everyone to share their ideas, ask questions, and talk about ...How to Setup & Manage Memberships in Edmingle?
Memberships is a built-in monetization feature inside Edmingle that allows institutes to sell recurring subscription plans. With Memberships, you can bundle courses, events, and blogs into a single subscription—giving learners ongoing access to ...How to Create & Manage Learner Segments?
Learner Segments allows you to group learners based on specific criteria, making it easier to send targeted communications, track progress, and personalize their learning experience. By creating and managing segments, you can organise your audience ...How to create a promotional banner?
Promotional banners are a great way to highlight offers, announcements, or updates directly within your LMS. They help you grab learners’ attention instantly and encourage engagement with your courses or campaigns. By creating and customising ...